Are you looking to make your lamination process stronger and longer-lasting? Using silicone shields could be the simple trick you need.
In this guide, you’ll discover how these small tools can protect your materials and improve the quality of your lamination. Whether you’re working on a DIY project or handling professional tasks, learning how to boost lamination with silicone shields will save you time and frustration.
Keep reading, and you’ll find easy steps to enhance your results every time.

Credit: divinelashes.ca
Benefits Of Silicone Shields
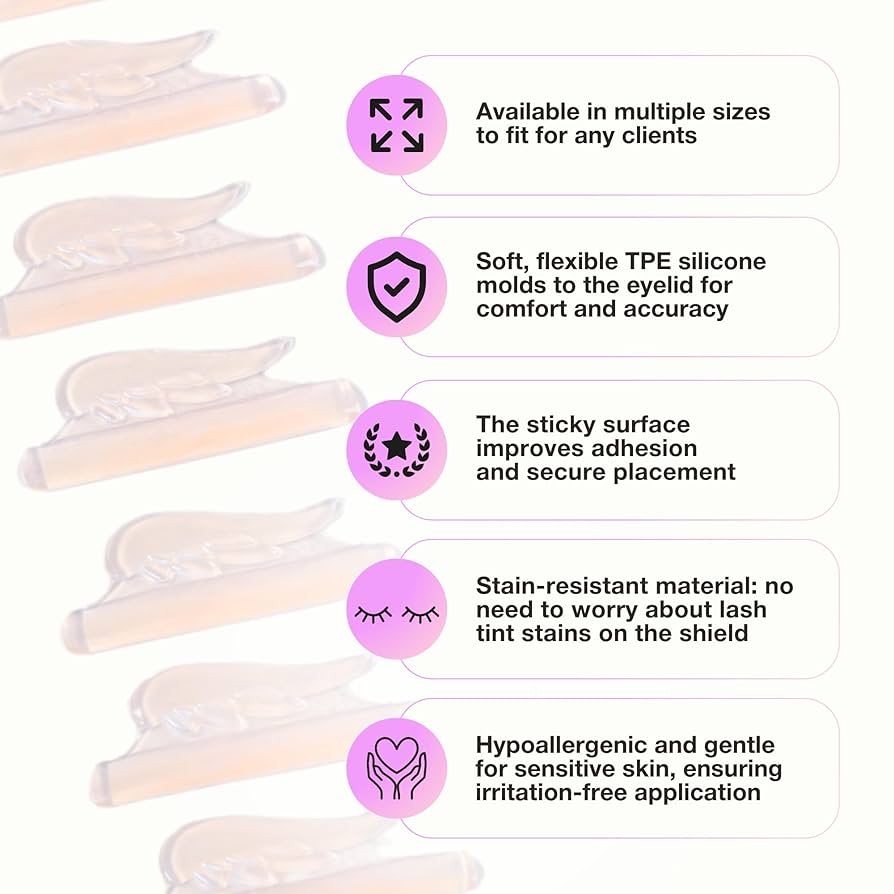
Silicone shields help improve lamination processes. They protect surfaces and create smooth finishes.
Using silicone shields can save time and reduce errors during lamination. They make work easier and cleaner.
Protects Delicate Surfaces
Silicone shields prevent damage to delicate materials during lamination. They act as a barrier against heat and pressure.
This protection helps keep surfaces smooth and free from marks or wrinkles. It keeps the final product looking clean.
Improves Adhesion Quality
Silicone shields help glue spread evenly on surfaces. This even spread improves how well layers stick together.
Better adhesion means the lamination lasts longer. It also prevents bubbles and loose edges.
Easy To Clean And Reuse
Silicone shields are simple to clean after use. You can wash them with water and mild soap.
Reusing shields saves money and reduces waste. They keep their shape and function over many uses.
Heat Resistance
Silicone shields resist high temperatures during lamination. They protect both the material and the tool from heat damage.
This heat resistance helps keep the lamination process safe and consistent. It prevents burns and warping.
Provides Smooth Finish
Silicone shields create a smooth surface for lamination. This smoothness reduces air bubbles and wrinkles.
The result is a clean, professional-looking laminated product. It improves the overall quality and appearance.
Credit: lamisuperbooster.com
Choosing The Right Silicone Shields
Silicone shields help protect items during lamination. Picking the right shield improves your results and saves time.
Focus on material quality and size to match your lamination project. This guide explains key points to consider.
Check The Shield Thickness
Thickness affects how well the shield protects your item. Thin shields offer flexibility but less protection.
Thicker shields provide strong protection but may be less flexible. Choose thickness based on your lamination needs.
- Thin: 1-2 mm, flexible for small or curved items
- Medium: 3-5 mm, good balance of protection and flexibility
- Thick: 6 mm or more, strong shield for heavy-duty lamination
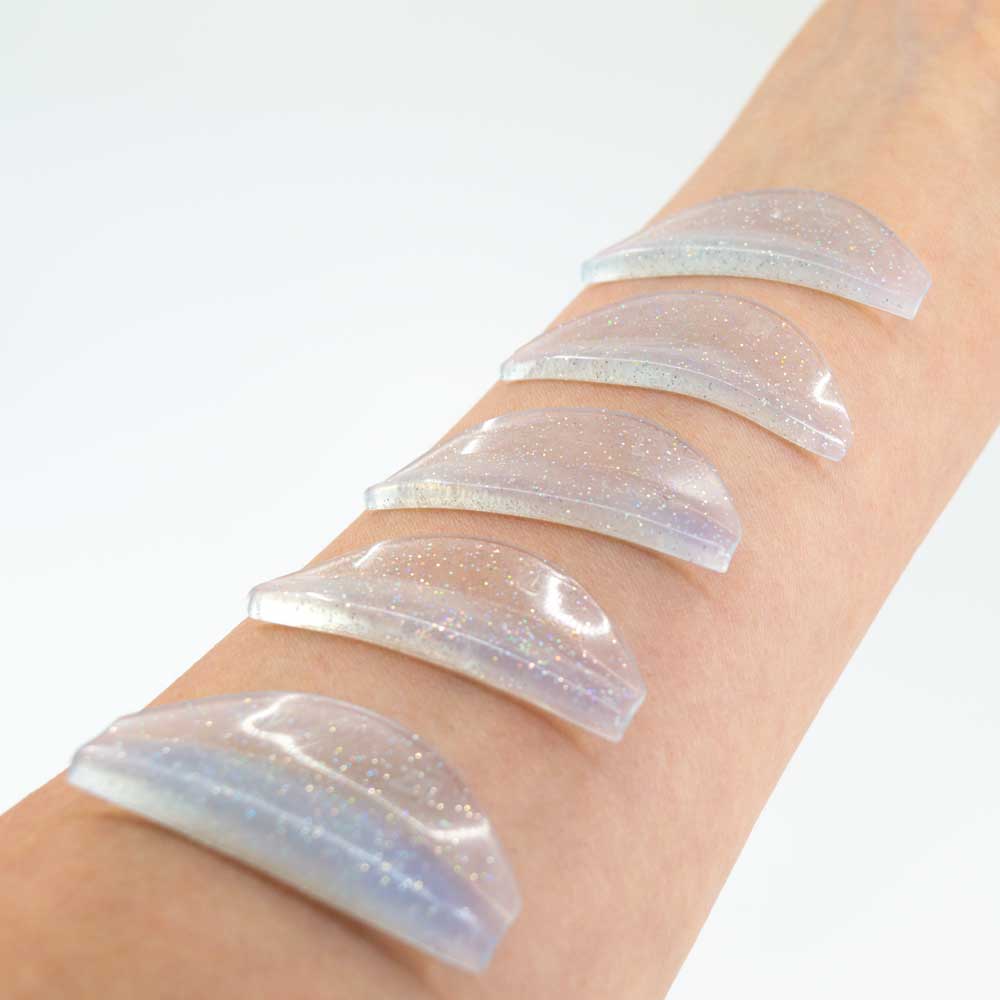
Select The Right Shield Size
Size matters to cover your item fully. Use a shield that matches or is slightly larger than your project.
Too small shields leave areas exposed. Too large shields may be hard to handle or cause wrinkles.
- Measure your item before selecting a shield
- Choose a shield size that covers the whole surface
- Allow a small margin for easy placement
Consider Heat Resistance
Silicone shields must withstand the heat from your laminator. Check the maximum temperature rating before buying.
Use shields rated for temperatures above your lamination heat to avoid melting or warping during use.
- Look for shields rated at least 230°C (446°F)
- Higher ratings ensure durability and safety
- Avoid shields with unknown or low heat resistance
Choose A Shield With Good Grip
Good grip helps keep the shield in place while laminating. Silicone shields with textured surfaces prevent slipping.
A shield that slips can cause bubbles or uneven lamination. Pick one that holds firmly but does not damage the item.
- Textured silicone offers better grip
- Smooth shields may slide on glossy surfaces
- Test grip on similar materials before use
Check For Easy Cleaning
Silicone shields get sticky or dirty after use. Choose shields that clean easily with soap and water.
Easy cleaning keeps shields ready for the next job and extends their life.
- Non-porous silicone resists stains
- Avoid shields with hard-to-clean textures
- Wash shields after each use to prevent build-up
Preparing For Lamination
Preparing properly helps you get the best results with lamination. It also makes the process easier and faster.
Using silicone shields can improve the lamination quality. Before starting, get ready with the right tools and workspace.
Gathering Necessary Tools
Collect all tools before you start. This keeps your work smooth and avoids interruptions.
- Silicone shields for even lamination
- Lamination film or sheets
- Clean cloth or wipes
- Lamination machine or heat source
- Scissors or cutting tools
- Gloves to protect your hands
- Ruler or measuring tape
Check tools for damage. Replace any worn or broken items before you begin.
Setting Up The Workspace
Choose a clean, flat surface to work on. It should be well-lit and free from dust or dirt.
Keep all tools within reach. This saves time and helps you focus on lamination.
- Clear the table of clutter
- Use a soft mat or cloth to protect surfaces
- Set up good lighting
- Organize tools in order of use
- Have a trash bin nearby for scraps
Applying Silicone Shields
Silicone shields help improve the lamination process by protecting surfaces and ensuring smooth results. Applying them correctly saves time and prevents errors.
This guide explains how to place and secure silicone shields properly for the best lamination outcome.
Proper Placement Techniques
Place the silicone shield carefully on the surface before starting lamination. Make sure it covers the whole area that needs protection.
- Clean the surface to remove dust and oils.
- Align the shield with edges and corners precisely.
- Press down gently to avoid air bubbles.
- Check that the shield lies flat without wrinkles.
- Adjust the shield if it shifts during placement.
Securing The Shields
After placing the shield, secure it firmly to keep it in place during lamination. Loose shields can cause wrinkles or gaps.
| Method | Description |
| Tape | Use heat-resistant tape along edges to hold the shield. |
| Clips | Attach clips if the shield covers thick or uneven surfaces. |
| Pressure | Apply even pressure to stick the shield without gaps. |
| Check | Inspect the shield before lamination to confirm stability. |
Enhancing Lamination Results
Lamination protects and improves printed materials. Using silicone shields helps get better results.
Silicone shields keep pressure even and stop damage. They make lamination smooth and clear.
Adjusting Temperature And Pressure
Set the right temperature for your lamination film. Too hot or too cold can cause wrinkles or bubbles.
Use silicone shields to spread pressure evenly. This avoids marks and helps the film stick well.
- Check your laminator’s recommended temperature
- Use silicone shields to protect delicate prints
- Adjust pressure to avoid crushing or gaps
- Test on sample pieces before full use
Monitoring The Process
Watch the lamination closely while it runs. Look for bubbles, wrinkles, or uneven areas.
If problems appear, stop and adjust settings. Silicone shields help reduce mistakes by keeping pressure steady.
- Inspect the laminated sheets immediately
- Remove air bubbles with a roller or cloth
- Replace silicone shields if worn or damaged
- Keep a clean workspace to avoid dust spots

Credit: www.amazon.com.au
Common Mistakes To Avoid
Using silicone shields during lamination can improve results. Avoid mistakes to get smooth and strong finishes. This guide covers common errors and how to fix them.
Pay attention to details like shield size and adhesion. These factors affect the quality of your lamination work.
Incorrect Shield Sizing
Choosing the wrong size of silicone shield causes problems. Too small shields do not cover well. Too large shields can wrinkle or fold.
- Measure the surface area before selecting a shield.
- Use a shield slightly larger than the area to cover.
- Avoid shields that extend too far beyond the lamination area.
- Replace shields that have stretched or lost shape.
Inadequate Adhesion
Poor adhesion between the silicone shield and material reduces lamination quality. It causes air bubbles and weak bonds.
| Cause | Effect | Solution |
| Dirty surface | Shield slips or lifts | Clean surface before applying shield |
| Dry shield | Poor contact with material | Apply recommended lubricant or conditioner |
| Wrong pressure | Uneven adhesion and bubbles | Use consistent, firm pressure during lamination |
| Old or damaged shield | Reduced stickiness | Replace shield regularly |
Maintenance Of Silicone Shields
Silicone shields protect surfaces during lamination. Proper care keeps them working well. Regular maintenance extends their life and saves money.
Cleaning and storing silicone shields correctly prevents damage. Checking them often helps find issues early. Follow simple steps to care for your shields.
Cleaning And Storing
Clean silicone shields after each use to remove glue and dirt. Use mild soap and warm water. Avoid harsh chemicals that can harm the silicone.
- Rinse shield with warm water
- Apply mild soap gently with a soft cloth
- Rinse off soap completely
- Dry with a clean, soft towel
- Store in a cool, dry place away from direct sunlight
- Keep shields flat or hung to avoid bending
Inspecting For Damage
Check shields before and after use for cracks or tears. Damaged shields can cause poor lamination or damage to materials. Replace shields if you find any problems.
| Damage Type | Impact | Action |
| Small cracks | May cause uneven pressure | Monitor closely, replace if worsens |
| Tears or holes | Risk of lamination failure | Replace immediately |
| Deformation | Uneven surface contact | Store properly or replace |
Advanced Tips For Professionals
Boosting lamination with silicone shields can improve your work quality. Using shields correctly protects the laminated surface and enhances durability.
These tips focus on customizing the shield fit and trying new techniques. Professionals will find ways to get better results and reduce errors.
Customizing Shield Fit
Proper shield fit protects the edges without causing wrinkles. Adjust the shield size to match the laminated item perfectly.
Use heat-resistant scissors to trim the shield carefully. Make sure the shield covers all corners but does not overlap too much.
- Measure the item before cutting the shield
- Trim slowly to avoid uneven edges
- Test the fit by placing the shield on the item
- Adjust until the shield lays flat without gaps
Experimenting With Techniques
Try different heat and pressure settings to find what works best. Each material may need a unique approach for lamination.
Use a small test piece before laminating the final product. This helps avoid mistakes and saves materials.
- Adjust heat levels in small steps
- Change pressure settings based on material thickness
- Test various lamination speeds
- Use different silicone shield textures for specific effects
Frequently Asked Questions
What Are Silicone Shields In Lamination?
Silicone shields are protective layers used during lamination. They prevent bubbles and wrinkles, ensuring a smooth finish. These shields improve lamination quality and durability by evenly distributing pressure.
How Do Silicone Shields Boost Lamination Quality?
Silicone shields enhance lamination by providing uniform pressure and heat distribution. This reduces imperfections like bubbles and wrinkles. The result is a clearer, stronger, and longer-lasting laminated surface.
Can Silicone Shields Prevent Lamination Defects?
Yes, silicone shields help prevent common defects such as air bubbles, wrinkles, and uneven lamination. They ensure smooth adhesion and consistent pressure, leading to flawless lamination results every time.
Are Silicone Shields Reusable In Lamination?
Most silicone shields are reusable and durable. They can be cleaned and used multiple times without losing effectiveness. Reusing them reduces costs and maintains high lamination standards.
Conclusion
Boosting lamination with silicone shields improves strength and durability. These shields protect edges and keep layers tightly bonded. Using them correctly saves time and reduces errors. Remember to choose the right shield size for your project. Practice applying shields smoothly for the best results.
This simple step makes your lamination last longer and look neater. Try this method to enhance your lamination work today.